
Installing WordPress on cPanel is one of the easiest ways to get your website online, even if you are a beginner. Most web hosting providers offer cPanel as their control panel, making WordPress installation fast, secure, and beginner-friendly.
In this step-by-step guide, you’ll learn how to install WordPress on cPanel using the most common method available today. We’ll also explain what cPanel is, what you need before installation, and what to do after WordPress is installed. By the end of this tutorial, you’ll have a fully working WordPress website ready for design and customization.
Watch Instead of Reading? Video Tutorial Available
In case you prefer learning visually, we’ve created a step-by-step WordPress web design video tutorial that walks you through domain setup, WordPress installation, theme customization, and plugin configuration.
What is cPanel?
cPanel is a web-based hosting control panel that allows you to manage your website, domain, emails, databases, and software installations from one dashboard.
With cPanel, you can:
- Manage website files
- Create databases
- Install applications like WordPress
- Control email accounts
- Monitor website performance
What You Need Before Installing WordPress
Before you install WordPress on cPanel, make sure you have the following:
- A domain name (emerenini.com)
- A web hosting account with cPanel
- Login details for your hosting dashboard
- An active internet connection
Most hosting providers like Bluehost, Hostinger, and Namecheap support one-click WordPress installation via cPanel.
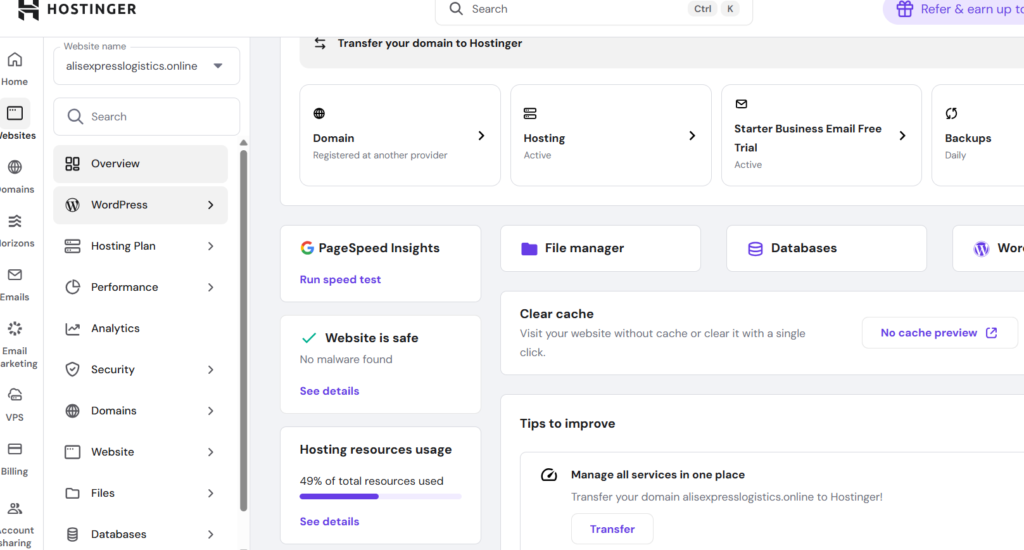
Step 2: Access cPanel Dashboard
Once logged in, you’ll see multiple sections such as:
- Files
- Databases
- Domains
- Softwares
Scroll down until you find the Software section.
- Online Skill Courses from Udemy Using Free Coupon Code
- Beginner’s Guide to Learning Web Design Step by Step
- Best Digital Skills for Freelancers
Step 3: Locate WordPress Installer (Softaculous)
Most cPanel dashboards include Softaculous Apps Installer.
- Click on Softaculous Apps Installer
- Select WordPress
- Click the Install Now button
Step 4: Configure WordPress Installation Settings
Fill in the required details carefully:
- Choose protocol: https:// (recommended)
- Choose domain: Select your domain
- Directory: Leave empty to install on root domain
- Site name & description: Can be changed later
- Admin username & password: Save securely
- Admin email address
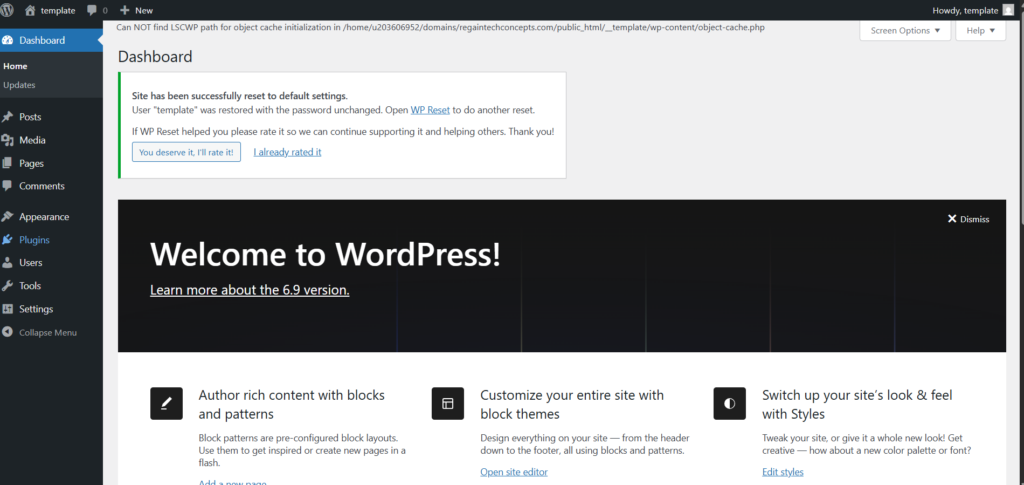
Step 5: Install WordPress (H3)
Click the Install button and wait for the process to complete. This usually takes less than one minute.
Once done, you’ll see:
- Your website URL
- WordPress admin login URL
How to Access Your WordPress Dashboard
To log in to WordPress:
- Visit: yourwebsite.com/wp-admin
- Enter your admin username and password
This is where you’ll manage:
- Themes
- Plugins
- Pages and posts
- Website settings
Common Problems When Installing WordPress on cPanel
Some beginners may face issues such as:
- Incorrect login credentials
- SSL certificate not active
- Wrong directory selection
- Weak admin password
Tip: Always enable SSL and use strong passwords.
What to Do After Installing WordPress
After installing WordPress, your next steps should be:
- Choose a WordPress theme
- Install essential plugins
- Create basic pages (Home, About, Contact)
- Configure SEO settings
- Please ensure that you customize your website design.
Read our guide on Introduction to WordPress Web Design
Prefer Watching Instead of Reading?
If you prefer visual learning, we’ve created a step-by-step video tutorial showing exactly how to install WordPress on cPanel, including a live walkthrough of the hosting dashboard and WordPress installer.
Watch the full video tutorial here and follow along as we install WordPress in real time.
Frequently Asked Questions (FAQ)
-
Is installing WordPress on cPanel free?
Yes. WordPress itself is free, but you need paid hosting and a domain name.
-
Which hosting providers use cPanel?
Most shared hosting providers use cPanel, including Bluehost, Hostinger, and Namecheap.
-
Do I need coding skills to install WordPress?
No. cPanel provides a one-click installation process.
-
Can I reinstall WordPress later?
Yes. You can uninstall and reinstall WordPress from Softaculous anytime.
Learning how to install WordPress on cPanel is an essential first step in building your website. With cPanel’s beginner-friendly interface and one-click installers, anyone can launch a WordPress website in minutes.
Once WordPress is installed, you’re ready to move on to web design, themes, plugins, and content creation.
Table of Contents
Quick Links
- How to Turn a Smartphone Into a Full-Time Income Machine: Step-by-Step Guide.
- Essential WordPress Security Tips to Protect Your Website Effectively
- How to build your first website using Elementskit for free
- WordPress Posts vs Pages: What’s the Difference and When to Use Each
- How to Write Your First WordPress Blog Post (Step-by-Step Beginner Guide)


[…] How to Install WordPress on cPanel (Step-by-step Beginner-Friendly) […]
[…] How to Install WordPress on cPanel (Step-by-step Beginner-Friendly) […]
[…] How to Install WordPress on cPanel (Step-by-step Beginner-Friendly) […]